SEO for photographers: 7 tips to optimize your photos for SEO
As a photographer, your website is mostly made of photos. So, to boost your visibility you must think about optimizing them for SEO.
Here, you only need to adopt a few tricks. And when I talk about tips, I am of course referring to the few foolproof SEO techniques to make your site climb in Google searches!
By the way, a few weeks ago, I explained in an article what SEO was and I gave you 10 tips to optimize your photographer’s website.
If you haven’t read it yet, I advise you to do so before starting this new topic.
So, in this guide I will explain to you what SEO of images is and I will give you 7 tips to optimize them to the maximum.
To read also
What is image SEO?
Image SEO is a set of good practices necessary to optimize your photos. This will generate more traffic on your site from image search engines: Google, Pinterest or Yahoo for example.
Your photos are your main source of exposure, your first commercial resource. Therefore, users need to find them quickly and easily online.
There are several techniques, relatively simple and especially accessible to all (and not only to highly qualified web developers).
7 tips to optimize your photos for SEO
1/ Compress your images
Photos are elements that take up a lot of space on a website. Therefore, they influence its loading time. For this reason, it is essential to compress them as much as possible!
Beware, you must find the compromise between good compression of the photos and their quality.
The good news is that there are plugins that allow you to do this job as efficiently as possible!
Moreover, you have the choice between 2 methods.
Compressing your photos before uploading them: for those who prefer to do the work before uploading the photos to their host.
For that, I recommend you to use JPEGMINI. It is a photo compression software that allows you to reduce the size of your JPEG files by 2 to 3 times, without any loss of quality.

You can also choose to compress your photos once they are uploaded to your web host. In that case, I recommend ShortPixel or Imagify, which I use every day.
ShortPixel stands out from other image compression plugins because of its simplicity and efficiency. Plus, it works on all web hosts!
As for Imagify, it is a special WordPress plugin that allows you to compress your images directly online via your image library. Relatively easy to use, you don’t lose quality.
2/ Use the right image size
One of the first questions of a photographer who creates his website: what size image should I use?
Depending on the area of your site, there are various recommended size options. The choice of the image size is important. Indeed, it determines its weight and thus, its ability to be read or not by search engines.
To sum up, you can rely on this:
– Blog articles : Width – 1500px / Height – Auto
-Gallery items: Width – Auto / Height – 1500px
-Slideshows and full width blocks : Width – 2880px / Height – 1500px
Sometimes your images may still be too big and you may have to resize them manually. In this case, you can use GTmetrix or a tool like that to determine what performance issues you may be experiencing.

3/ Use a descriptive file name
When publishing a photo report or a new gallery, it can happen that you leave the original name of the photos, especially if you export or save images directly from your camera.
However, this is a mistake not to make! Name them so that they are descriptive. You can use the keywords of your article.

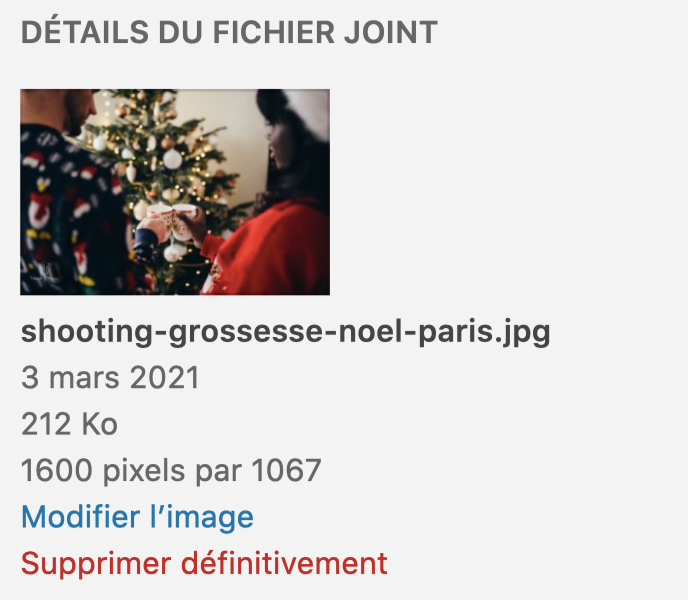
It is also essential to include the type of session and the location. Google will understand much faster where to position you… At least, it will understand more than a “DSC00324.JPG”!
4/ Add Alt tags
The alternative text or “alt tag” allows you to replace the image by a text if it fails to display. You must complete this tag with a description of the photo but especially the keywords to integrate.
The Alt tag has a significant impact on the SEO of your image. Indeed, search engines use it to better understand the content of your images.

And we all understand that the more the search engine understands what you do, the more likely you are to be placed in pole position!
This step is not to be neglected! You must do it directly on your host.
And don’t forget to include keywords in your alt tags!
5/ Describe your images with text
Generally, Google tends to favor text over images… Not easy for a photographer!
Here, the trick is quite simple. Search engine algorithms follow the logic that the text around the image informs about the content of the image.
That’s why it’s important to add textual content to your pages, articles and even simple galleries or portfolios.
Of course, you don’t have to describe each image one by one, but rather to contextualize the event. If it’s a wedding for example, you must include information about the place, the part of the ceremony …
6/ Place your most important images at the top of the page
Even if, as a photographer, you would like to expose your entire photo report to the public, you should know that this is really not recommended.
First, you will overload your site, and it will take a long time to load. Visitors will tend to leave.
Also, although your reportage is extremely beautiful, no one will look at all the pictures (except the bride and groom and their relatives).
That’s why you should make a selection of photos for your website and place the most important images at the top of the page.
Also, if you have a lot of images with the same alt tag and they look the same, there is a good chance that Google will not rank them all. It will only pay attention to the first ones.
7/ Track your results
When you implement a new strategy, it’s always better to be able to follow the results as they happen. With Google Search Console for example, you can see which keywords but also which images have generated the most organic traffic.
To do this, just go to your performance report and apply the “per image” filter.
As you will have understood, several tricks are to be implemented to optimize your photos for SEO. Although it requires rigor and a little time, you will see results appear very quickly.
Moreover, once you get the hang of it, you’ll see, it will become automatic. Now it’s up to you to get started!
